When considering how to attach solar panels to a curved or shingle roof, careful planning is essential. Industry expert James Green, a seasoned solar installation specialist, states, “Every roof is unique, and the installation must respect that diversity.” His perspective highlights the importance of customization in the installation process.
Curved roofs present unique challenges compared to traditional flat surfaces. The contour of the roof must be assessed to ensure proper solar panel alignment and attachment. Shingle roofs, while more common, also require specific techniques to prevent damage and ensure efficiency. This adds a layer of complexity to the installation process.
Each roof type demands different strategies. For curved roofs, specialized mounting brackets can help secure the panels. On shingle roofs, avoiding damage to shingles is crucial. Incorrect installation can lead to leaks and void warranties. Thus, understanding how to attach solar panels effectively is vital for long-term performance and durability.
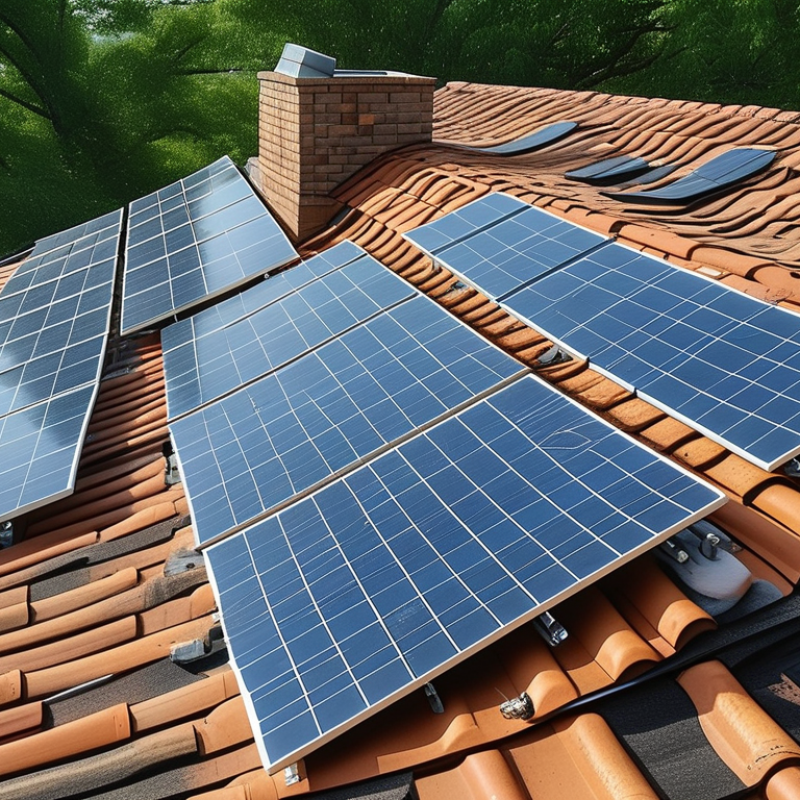
Installing solar panels on curved roofs presents unique challenges that can significantly affect the system's efficiency and longevity. Curved surfaces can complicate the installation process. Standard solar racking systems are designed for flat surfaces, making it difficult to secure panels properly. According to a report by the National Renewable Energy Laboratory (NREL), improper installations on curved roofs can lead to a decrease in the operational efficiency of solar panels by up to 10%.
Weather conditions also pose a significant concern. Curved surfaces can collect rainwater differently than flat roofs, which can lead to moisture buildup and potential damage. A study from the Solar Energy Industries Association noted that improper drainage could cause up to 15% of solar power systems to fail prematurely. This information highlights the importance of proper design and installation techniques tailored specifically for curved roofs.
Rooftop shape influences the installation strategy. It requires skilled professionals who understand the nuances of such projects. If not managed properly, resources can be wasted, and the project timeline may extend unnecessarily. The installation process needs careful planning to address these concerns effectively. Making adjustments based on the roof's contours can improve long-term performance and reliability.
When considering solar panel installation on shingle roofs, selecting the right mounting system is crucial. Shingle roofs have unique features that require specific solutions. Many mounts attach directly to the roof structure, ensuring stability and reducing the risk of leaks. It's essential to choose systems that are compatible with asphalt shingles, as they are most common.
Using rail-based systems is popular among installers. These systems distribute weight evenly across the roof. That’s vital for preventing damage. Some may opt for a solar rack, which stands above the shingles. This method allows for better ventilation and less risk of heat buildup, but it can be more complex to install.
Not every roof is the same; some have a steeper pitch or are older, increasing potential challenges. Evaluating conditions before installation is vital. There are no one-size-fits-all mounting solutions. Researching local building codes can also help avoid future issues. Each decision impacts the installation's performance and longevity. Choosing wisely can lead to optimal energy production while ensuring roof integrity.
Preparing a curved roof for solar panel installation can be challenging. It requires a unique approach compared to flat or shingle roofs. Start by surveying the roof's structure. Measure the curves and identify the materials used. Ensure that your roof has enough strength to support the panels. This step is crucial for maintaining stability.
Next, consider using mounting brackets specifically designed for curved surfaces. These brackets help secure the panels without compromising their integrity. Take time to plan the layout of the solar panels. Each panel must align with the roof's curves. Misalignment can lead to water pooling or undue stress on the materials.
After planning, it’s time to install. Begin with the mounting brackets. Install them securely and check for any potential issues. Ensuring a tight fit can prevent leaks. This stage might require adjustments. Be patient and test different configurations until everything fits perfectly. Engaging a professional can also provide insights into the best methods. Remember, a well-prepared roof is essential for a successful solar installation.
Installing solar panels on shingle roofs requires careful planning. Shingle roofs are relatively easy to work with, but proper securing methods are vital. Ensure you assess the roof’s weight capacity and the angle of the slope before installation.
Tips: Use high-quality mounting hardware designed for shingle applications. This reduces the risk of leaks and ensures stability.
When securing panels, avoid penetrating the shingles if possible. Instead, use mounting systems that attach to the roof structure below. This approach minimizes damage and preserves the integrity of the shingles. Regular inspections after storms can help identify potential issues early.
Tips: Regular maintenance checks can extend the life of your panels and your roof. Don’t overlook the importance of securing electrical connections too. Protect them from moisture and debris buildup.
Consider the roof’s overall condition. Curling or damaged shingles may need repairs before panel installation. It’s also crucial to check local regulations for compliance. Always seek professional advice when in doubt about installation methods or safety.
When installing solar panels on curved or shingle roofs, safety is paramount. The sloped surface can make the installation precarious. Always wear appropriate safety gear. Harnesses, non-slip shoes, and hard hats are essential.
Consider the stability of your ladder. Make sure it is on even ground. Extension ladders should be securely positioned against the roof. This reduces the risk of falls. Use fall protection measures like guardrails when working on the roof.
Tips: Always check the weather before installation. Strong winds or rain can create hazardous conditions. Also, inspect the roof for damage. Repair any weak areas before mounting panels. Consider working with a partner. Having someone nearby increases safety and can be critical in emergencies.
Remember, working on roofs carries risks. It's okay to feel nervous. Reflect on your capabilities and plan the installation carefully. If you're unsure, consult professionals who specialize in solar panel installation.
| Aspect | Details |
|---|---|
| Type of Roof | Curved, Shingle |
| Installation Difficulty | Moderate to High |
| Tools Required | Drill, Level, Measuring Tape, Safety Harness |
| Safety Precautions | Wear Safety Gear, Use Harness, Secure Tools |
| Roof Condition | Must be Inspected and Repaired if Necessary |
| Mounting Method | Flush Mounting for Shingle, Specialized Brackets for Curved |
| Expected Lifespan | 25+ Years for Panels, Varies for Roofs |
| Permits Required | Yes, Check Local Regulations |
: It's vital to select a mount compatible with asphalt shingles. Stability and leak prevention are crucial factors.
Rail-based systems distribute weight evenly, preventing roof damage. They are a popular choice for many installers.
Start by measuring the roof's curves. Ensure it can support the panels before proceeding with installation.
Use mounting brackets specifically designed for curved surfaces. They help secure panels without compromising integrity.
Repair any curling or damaged shingles before installing solar panels. This ensures a better overall outcome.
Use mounting systems that attach to the roof structure below. This minimizes damage to shingles.
Inspections can identify potential issues like leaks early. This helps maintain both the roof and panels’ integrity.
Steeper pitches or older roofs can create challenges. Each roof's condition must be carefully evaluated.
Adjustments might be required during installation. Test different configurations for the best fit.
Yes, professional insights can optimize installation methods and ensure safety. Seeking help is wise when unsure.
Installing solar panels on roofs presents unique challenges, particularly for curved or shingle rooftops. Understanding these challenges is crucial for ensuring a successful installation. The first step is to choose the right solar panel mounting system that accommodates the specific characteristics of shingle roofs. For curved roofs, it is essential to prepare the surface properly, which includes assessing the roof's structure and ensuring it can support the weight and mounting systems.
A step-by-step guide is vital in executing the installation, detailing best practices for securing solar panels effectively to avoid damage and ensure longevity. Additionally, safety considerations must be carefully addressed throughout the installation process. Overall, mastering "how to attach solar panels to a curved or shingle roof" involves a combination of technical knowledge, appropriate material selection, and adherence to safety protocols, ensuring a reliable and efficient solar panel setup.

Illumino Solar